How to Fix Blurry Shopify Product Images (and Speed Up Your Store)
You spend hours getting the lighting right for your product shots. You edit them until they look perfect. Then you upload them to Shopify, and suddenly, your crisp product photo looks soft, pixelated, or just "off."
Even worse, your store speed score drops.
This happens because Shopify tries to help you. Shopify's Help Center reports that their system automatically compresses uploaded images to improve page load times. But Shopify's algorithm is a blunt instrument. It doesn't care about the texture of your fabric or the detail on your jewelry. It just cuts data until the file is smaller.
The solution isn't to upload low-quality images. It's to compress them properly before you hand them over to Shopify.
Why "Big" Images Cause Blur
There are two ways to measure an image. One is pixel dimensions (like 2048 x 2048 pixels). The other is file weight (like 5 megabytes).
According to Shopify's image documentation, product images should be 2048 x 2048 pixels for square product photos to enable zoom functionality. That's great advice. Keep doing that.
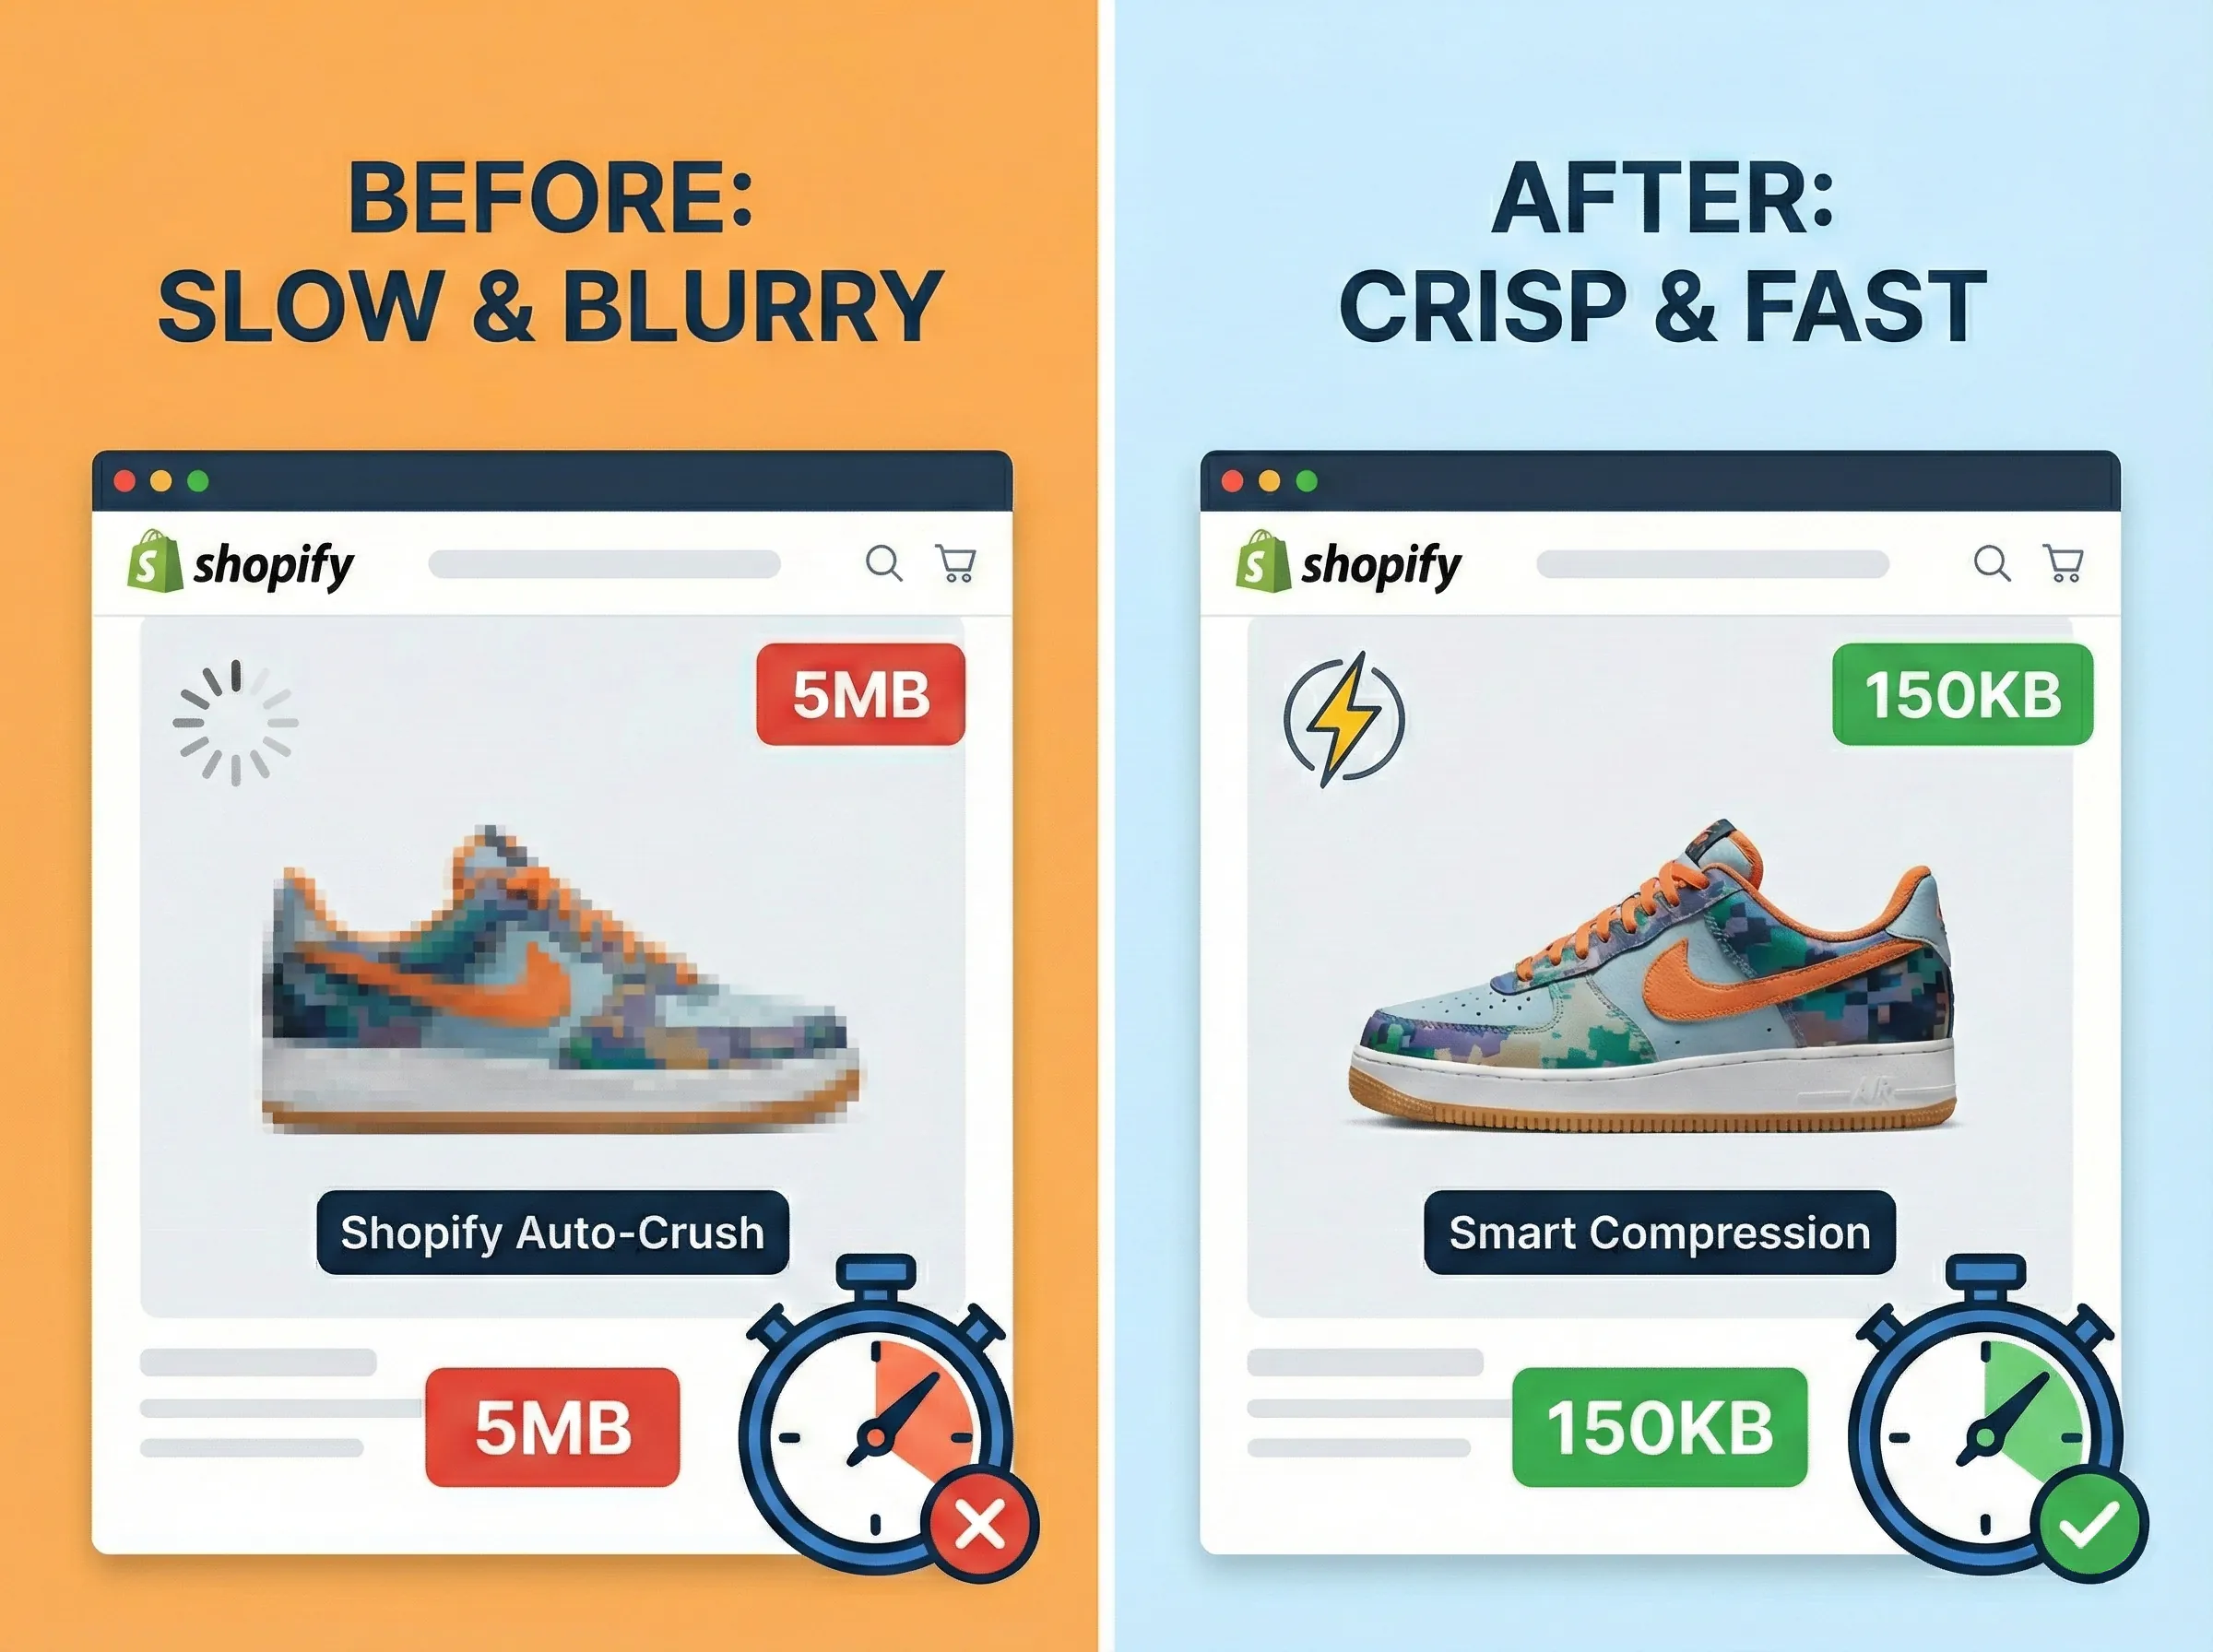
The problem is the file weight. A high-resolution PNG file coming straight out of Photoshop or Canva can easily be 5MB or larger. If you try to load five of those on a single product page, you are asking a customer's phone to download 25MB of data just to see a t-shirt. They won't wait. They'll bounce.
How to Keep the Quality but Drop the Weight
You need to separate the visual quality from the file size. It is entirely possible to have a 2048px wide image that looks crystal clear but only takes up 150KB of space, rather than 5MB.
This is where "lossless" or "smart" compression comes in. It removes the data visitors can't see (like metadata, color profiles, and redundant code) while leaving the pixels alone.
Your Pre-Upload Workflow
Stop uploading raw files directly to your store. Add this thirty-second step to your routine to stop Shopify from ruining your photos.
- Export your images from your camera or editor at the full recommended size (2048px width is usually the sweet spot for Shopify).
- Drag them into LighterImage. You can drop in up to 30 files at a time.
- Wait a second. The tool will strip out the bloat. You will likely see file size reductions of 50% to 80%.
- Download the compressed version. Note that LighterImage also gives you a WebP version. For Shopify uploads, stick to the compressed JPG or PNG you get back, as Shopify handles the format conversion on their end.
- Upload to Shopify.
Because you are now feeding Shopify a lean, optimized file, their aggressive auto-compression won't kick in. You get to keep your quality, and your customers get a page that loads instantly.
Frequently Asked Questions
Why does Shopify make my images blurry?
Shopify automatically compresses large image files to improve page load times. When you upload a heavy file (5MB+), Shopify's compression algorithm aggressively reduces quality to shrink the file size. By pre-compressing your images before upload, you prevent Shopify from applying its own lossy compression.
What is the best image size for Shopify products?
Shopify recommends 2048 x 2048 pixels for square product images to enable zoom functionality. Keep pixel dimensions high but file size low (under 500KB) by compressing images before uploading. This gives customers sharp zoom-in capability while maintaining fast page speeds.
Should I upload PNG or JPG to Shopify?
For most product photos, use JPG as it offers better compression for photographs. Use PNG only for images with transparency or graphics with sharp edges. Shopify will convert images to WebP for browsers that support it, so focus on keeping your source files optimized.
References
No signup required. Drop your images and download compressed versions instantly.