How to Resize and Compress Photos for US Visa & Passport Applications (2026 Requirements)
You have the perfect photo. The lighting is good, the background is white, and you aren't wearing glasses. But when you try to upload it to the CEAC (Consular Electronic Application Center) or the State Department website, you get an error:
- "Image size is too large."
- "Dimensions must be 600 x 600 pixels."
- "Compression ratio is less than 20:1."
Per the U.S. Department of State, digital photos must meet precise technical specifications. If your file is 241 kB, it gets rejected. If it's 599 pixels wide, it gets rejected.
Here is how to fix your file in seconds using LighterImage, without losing the quality you need to pass the biometric scan.
The "Resize vs. Compress" Problem
Most people fail because they confuse resizing (changing dimensions) with compressing (lowering file size).
- Resizing: Changing a photo from 4000 pixels wide (standard iPhone photo) to 600 pixels wide.
- Compressing: Reducing the file weight from 5MB to 200kB without blurring the face.
The official US State Department photo tool is often buggy and crashes with large modern phone images. You need a tool that does both steps at once.
Global Digital Photo Requirements (2026 Comparison)
Different countries have vastly different rules. According to GOV.UK, UK digital passport photos require different dimensions than US photos. Do not assume your US Visa photo will work for your UK Passport application.
| Requirement | US Visa & Passport | UK Digital Passport | Schengen Visa (France)* |
|---|---|---|---|
| Dimensions | 600 x 600 px (Square) | 600 x 750 px (min) | 35 x 45 mm (413 x 531 px) |
| Aspect Ratio | 1:1 (Square) | 4:5 (Portrait) | 3.5 : 4.5 (Portrait) |
| Max File Size | 240 kB | 10 MB | 120 kB |
| Min File Size | N/A | 50 kB | 10 kB |
| Format | JPEG / JPG | JPEG / JPG | JPEG / PNG |
| Glasses? | Strictly No | No (Recommended) | Allowed (If eyes visible) |
*Note: Schengen requirements vary by country portal. The dimensions above are for the French online visa portal (France-Visas).
Step-by-Step: Fix Your US Visa Photo in 30 Seconds
Instead of struggling with Photoshop or risky "Passport Photo Apps" that store your data, use LighterImage directly in your browser.
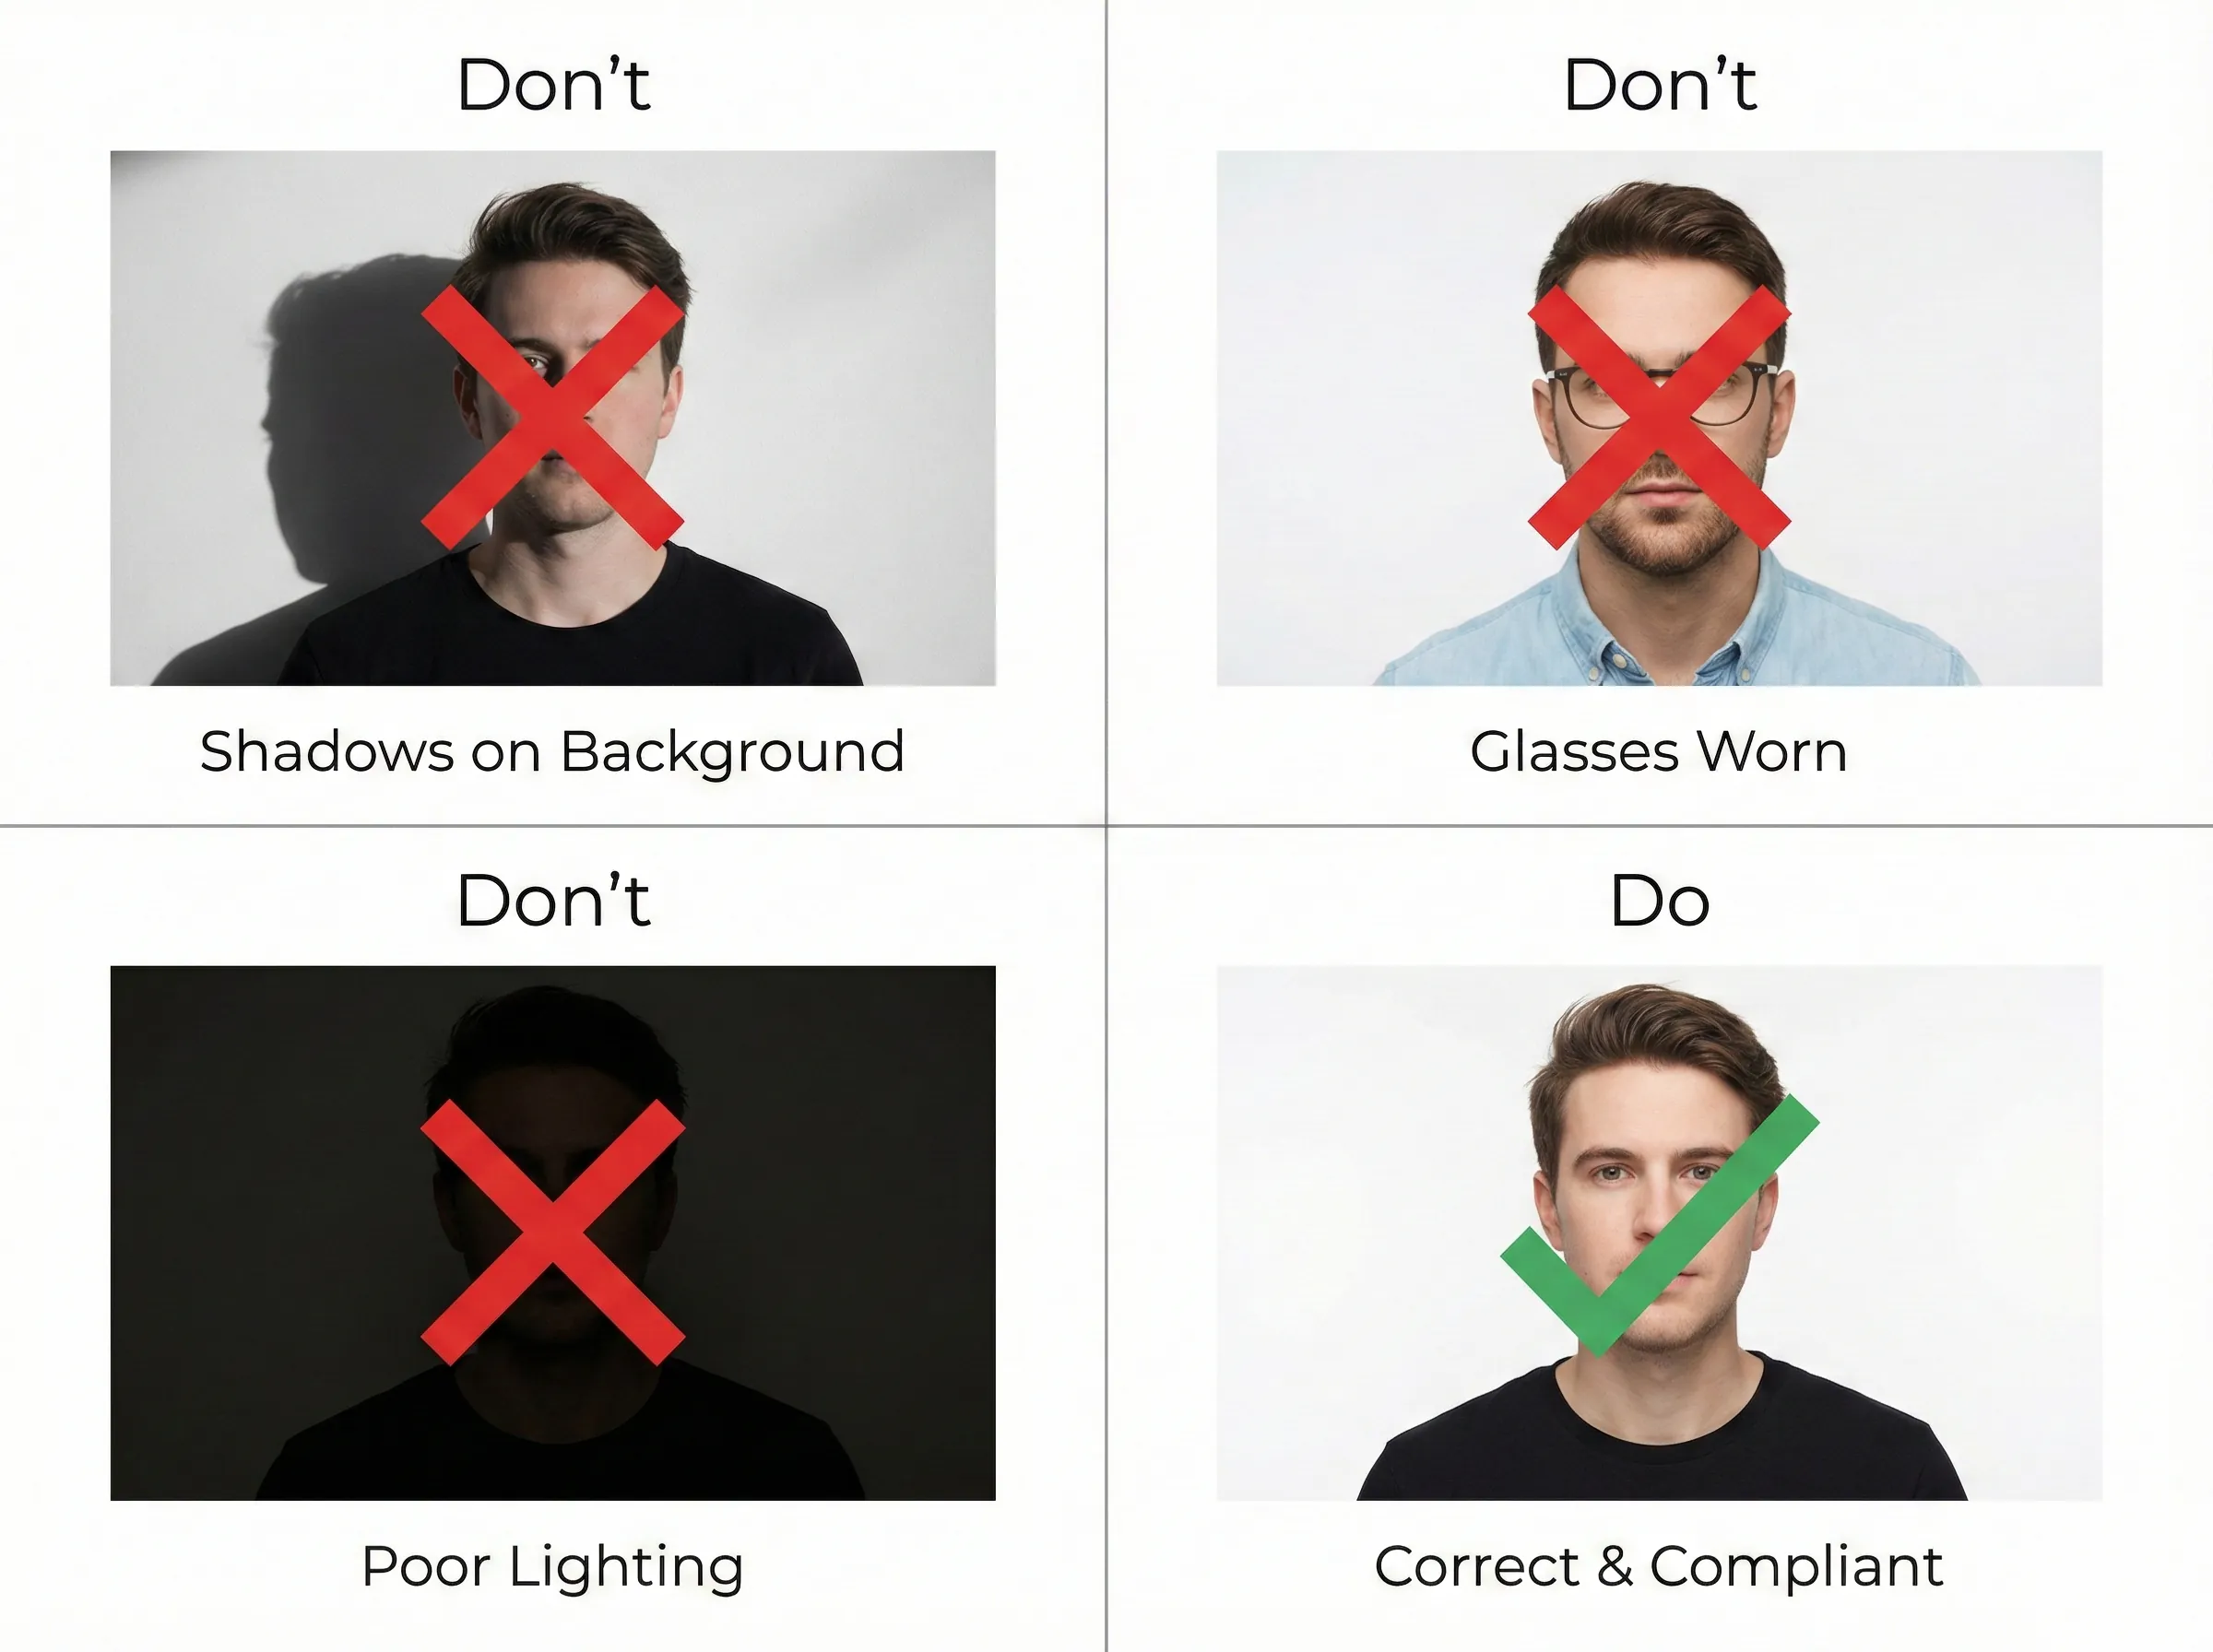
1. Take Your Photo Correctly
Before you upload, ensure your source image is good:
- Background: White or off-white wall. No patterns.
- Lighting: Even lighting (face the window). No shadows on your face or the wall behind you.
- Pose: Neutral expression. Both eyes open. No glasses.
2. Upload to LighterImage
Go to LighterImage.com. Drag and drop your raw photo (even if it's a huge 10MB iPhone HEIC or JPG).
3. Set Dimensions (The Critical Step)
This is where you fix the "Dimensions" error.
- Click the Resize toggle.
- Select "Scale down to width" or "Fit to".
- Enter 600 px.
Tip: Ensure your original photo is cropped to a square before you resize, or use the tool to crop it. If your image is rectangular, LighterImage will resize the longest side to 600px, which won't produce an exact square. For best results, crop to a square on your phone first, then resize here.
4. Compress to < 240kB
This is where you fix the "File Size" error.
- Choose JPEG as the output format (US Gov sites only accept JPEG).
- LighterImage will automatically optimize the file.
- Look at the estimated size. Is it under 240kB? (It usually will be around 40-80kB at 600px).
- Download.
Why Was My Photo Rejected? (Troubleshooting)
If you used LighterImage and the portal still rejects you, check these common issues:
1. "Illumination" or "Shadows"
This is not a file size issue; it is a photography issue. If there is a shadow behind your ears or under your nose, the biometric bot cannot read your face geometry. Retake the photo standing 3 feet away from the wall to reduce shadows.
2. "Compression Ratio" Error
Sometimes, if a file is too small (e.g., 15kB), the government site thinks it is low quality. Increase the quality slider in LighterImage until the file is around 100kB. This is the "safe zone."
3. Background isn't White Enough
Digital sensors are sensitive. If your "white" wall looks "grey" in the photo, use a basic photo editor to brighten the background—but do not retouch your face. Removing moles, wrinkles, or scars is strictly forbidden and will lead to visa denial.
A Note on Privacy
You are uploading a photo of your face that will be used for biometric identification. Do not use sketchy "Free Passport Photo" websites that require you to create an account or don't state their privacy policy.
LighterImage processes your images efficiently. We do not store your visa photos, we do not use them to train AI, and we do not sell your biometric data. Once you close the tab, your photo is gone from our browser session.
Frequently Asked Questions
What are the exact US Visa photo requirements for 2026?
Your digital image must be a square JPEG file, sized between 600 x 600 pixels and 1200 x 1200 pixels. The file size must be less than or equal to 240 kB. The photo must be in color, taken against a plain white background, with no glasses worn.
What is the difference between resizing and compressing a photo?
Resizing changes the pixel dimensions of your photo (e.g., from 4000 pixels wide to 600 pixels wide). Compressing reduces the file weight (e.g., from 5MB to 200kB) without necessarily changing dimensions. For visa photos, you often need to do both.
Why was my visa photo rejected even after compression?
Common reasons include shadows on your face or background (retake with even lighting), compression ratio errors (file too small, aim for around 100kB), or a background that isn't white enough. Photography issues cannot be fixed with compression—you may need to retake the photo.
References
No signup required. Supports US, UK, and Schengen requirements.